 language
 English
 Русский
 España
 Français
 عربي
عربي
 中文版
中文版
How to Remove Upper Mold | AIRAYS RSC‑800‑500 All‑Servo Cup‑making Thermoforming Machine
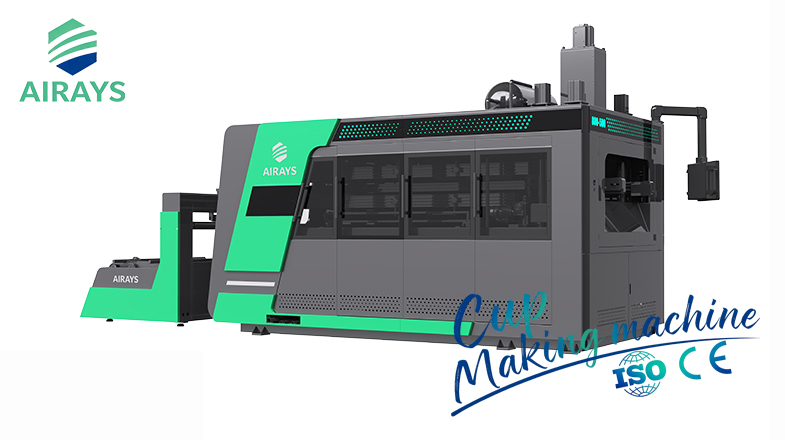
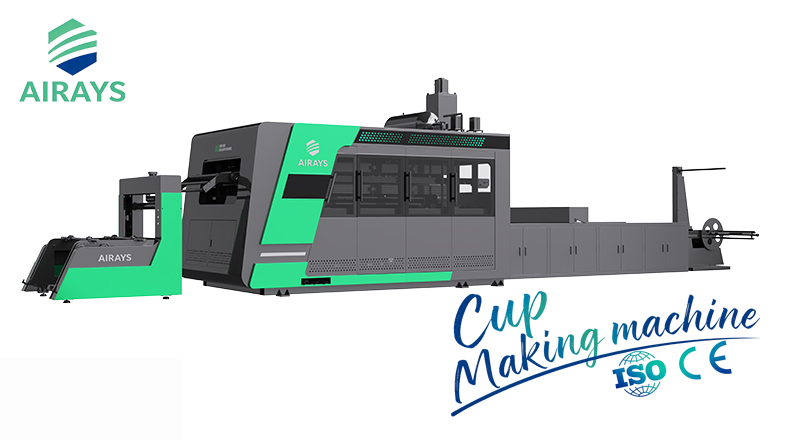
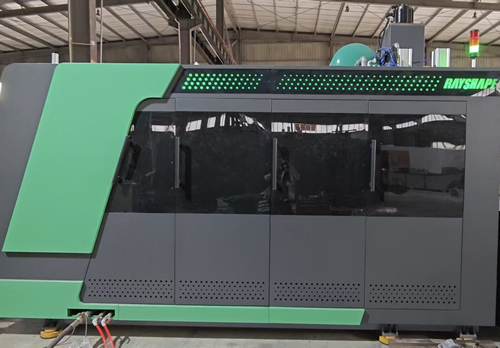
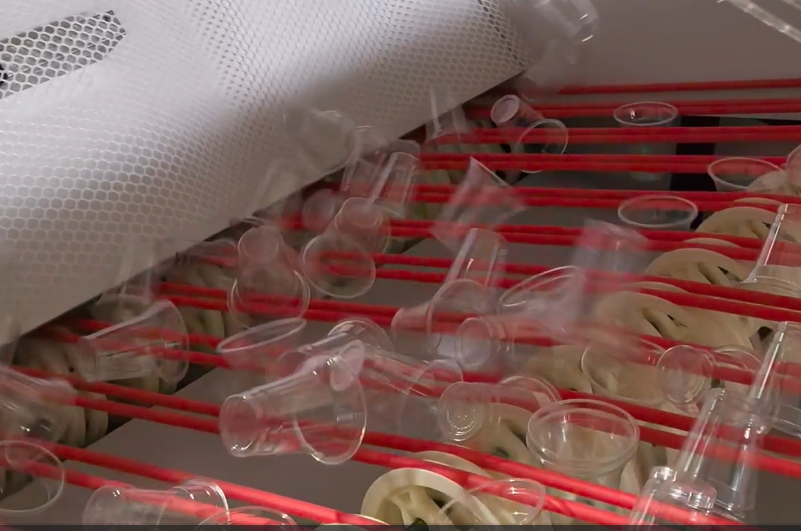
This official technical operation video demonstrates the complete standard workflow for upper mold removal of AIRAYS RSC‑800‑500 all‑servo cup‑making thermoforming machine. This positive‑pressure forming equipment mass‑produces disposable beverage cups, coffee cups, milk cups, food bowls and various plastic food containers. It supports diverse sheet raw materials including A‑PET, R‑PET, C‑PET, BOPS, HIPS, PP, PLA, PVC and barrier materials to meet multiple food‑packaging production demands.
Upper mold undertakes forming and blowing functions during cup production. Improper disassembly may result in scratch to mold surface, thread damage, mold falling risk, or collision against machine servo‑driven platen components. All disassembly operations must be completed by trained and qualified service technicians. Mandatory lock‑out‑tag‑out safety procedure must be performed before any handling work. Cut off main power supply, shut off air source, release residual pneumatic pressure, and confirm all moving mechanical parts have fully stopped to prevent unexpected machine movement.
Allow upper mold to cool down to ambient temperature to avoid scald hazard. Drain residual cooling water inside mold channels, blow out internal moisture with compressed‑air gun, then disconnect cooling‑water quick‑connect joints. Prepare qualified hoisting fixtures, soft protective cushion blocks and torque tools in advance. Clear surrounding operating area to guarantee sufficient space for hoisting travel path.
Access upper‑mold mounting bolts, loosen bolts gradually by adopting reverse cross‑diagonal loosening sequence. Do not remove all bolts completely in one go. Retain several temporary support bolts to bear partial mold weight and prevent sudden dropping. After most mounting bolts are loosened, connect hoisting fixture firmly to upper mold lifting lugs, keep hoisting rope under slight pre‑tension to take mold load. Slowly take out the remaining temporary support bolts.
Lift upper mold slowly and vertically. Prevent tilting, swinging or scraping against machine platen, guide pillars and link‑rod assemblies. Place detached upper mold onto soft protective cushion blocks steadily. After disassembly, inspect mold forming surface, locating holes, cooling channels and thread holes. Apply anti‑rust protective agent on mold surface for long‑term storage. Never use crowbars or prying tools to force‑pry the mold off, which will cause permanent deformation to mold or machine components.
This machine adopts four‑column plus five‑point structural connecting‑rod mechanism and quick‑change mold system. Operating according to standardized removal steps helps preserve mold precision and machine mechanical accuracy, extending service life for both equipment and molds.
Upper mold undertakes forming and blowing functions during cup production. Improper disassembly may result in scratch to mold surface, thread damage, mold falling risk, or collision against machine servo‑driven platen components. All disassembly operations must be completed by trained and qualified service technicians. Mandatory lock‑out‑tag‑out safety procedure must be performed before any handling work. Cut off main power supply, shut off air source, release residual pneumatic pressure, and confirm all moving mechanical parts have fully stopped to prevent unexpected machine movement.
Allow upper mold to cool down to ambient temperature to avoid scald hazard. Drain residual cooling water inside mold channels, blow out internal moisture with compressed‑air gun, then disconnect cooling‑water quick‑connect joints. Prepare qualified hoisting fixtures, soft protective cushion blocks and torque tools in advance. Clear surrounding operating area to guarantee sufficient space for hoisting travel path.
Access upper‑mold mounting bolts, loosen bolts gradually by adopting reverse cross‑diagonal loosening sequence. Do not remove all bolts completely in one go. Retain several temporary support bolts to bear partial mold weight and prevent sudden dropping. After most mounting bolts are loosened, connect hoisting fixture firmly to upper mold lifting lugs, keep hoisting rope under slight pre‑tension to take mold load. Slowly take out the remaining temporary support bolts.
Lift upper mold slowly and vertically. Prevent tilting, swinging or scraping against machine platen, guide pillars and link‑rod assemblies. Place detached upper mold onto soft protective cushion blocks steadily. After disassembly, inspect mold forming surface, locating holes, cooling channels and thread holes. Apply anti‑rust protective agent on mold surface for long‑term storage. Never use crowbars or prying tools to force‑pry the mold off, which will cause permanent deformation to mold or machine components.
This machine adopts four‑column plus five‑point structural connecting‑rod mechanism and quick‑change mold system. Operating according to standardized removal steps helps preserve mold precision and machine mechanical accuracy, extending service life for both equipment and molds.
Cup Making Machine Products
Cup Making Machine Videos
▶
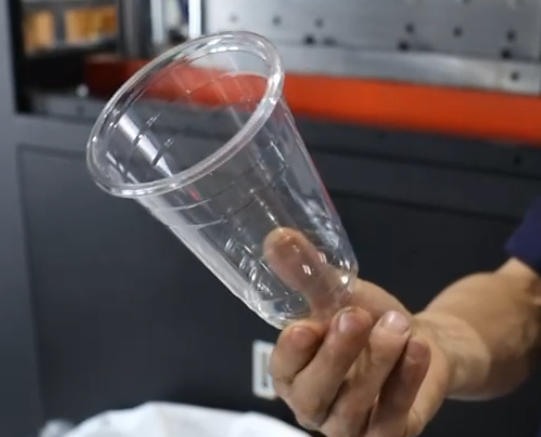
Plastic Cup Making Machine
▶
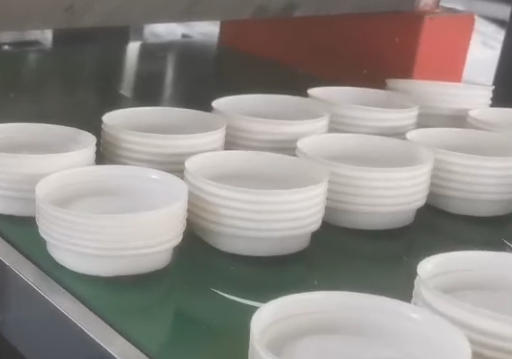
Plastic cup lid machine
▶
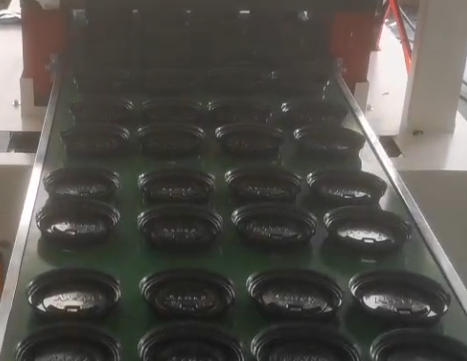
Coffee cup lid forming machine
▶
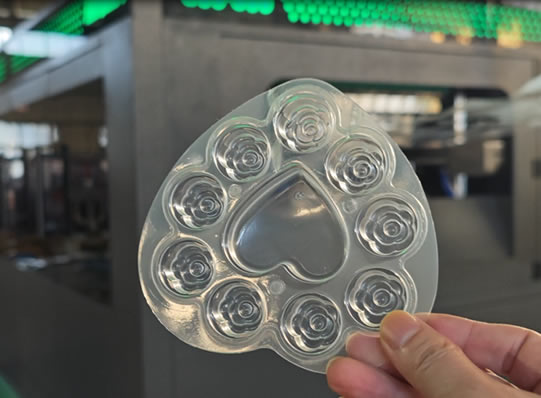
Plastic Cup Thermoforming Machine
▶
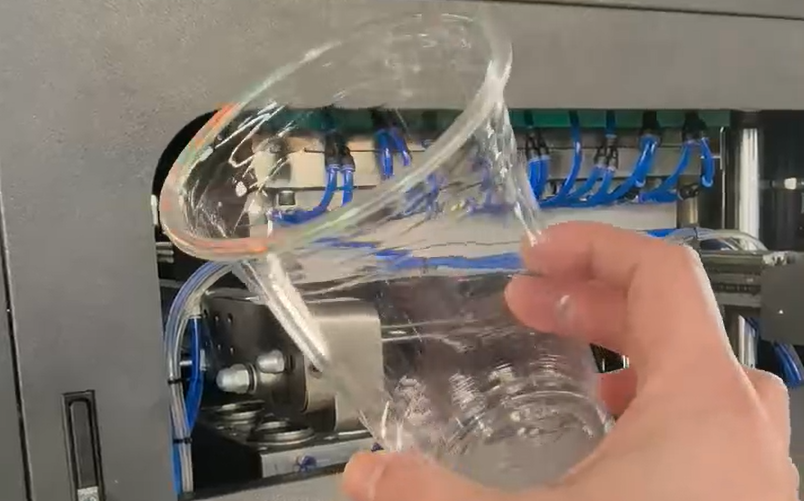
PET Cup Thermoforming Machine Test Completed
▶
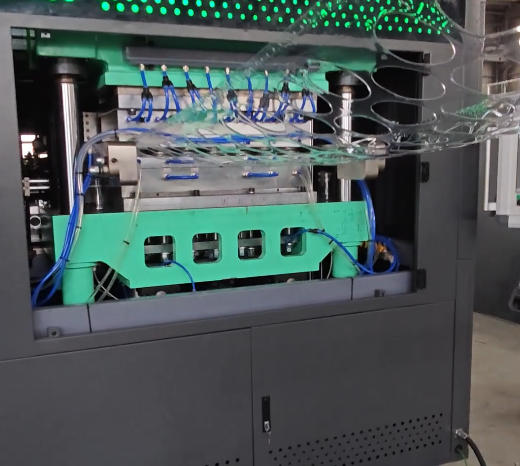
PET Plastic Cup Thermoforming Machine Test | High Speed Cup Making Machine
▶
Plastic cup manufacturing machine
▶
Plastic Cup Blowing + Auto Stacking | AIRAYS Thermoforming Machine